Apache是世界使用排名第一的Web服务器软件。它可以运行在几乎所有广泛使用的计算机平台上,由于其跨平台和安全性被广泛使用,是最流行的Web服务器端软件之一。它快速、可靠并且可通过简单的API扩充,将Perl/Python等解释器编译到服务器中。

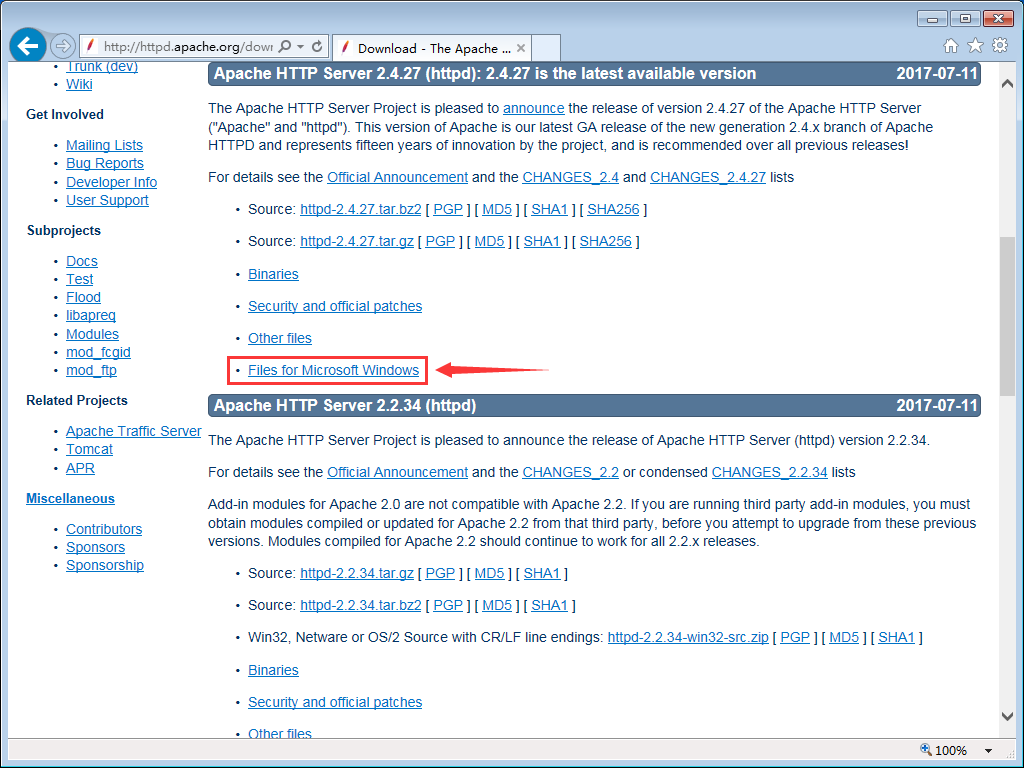
- 打开http://httpd.apache.org,找到最新版,区域下点击“Download”:
- 进入Download页面,在版本区域下方,点击“Files For Microsoft Windows”:
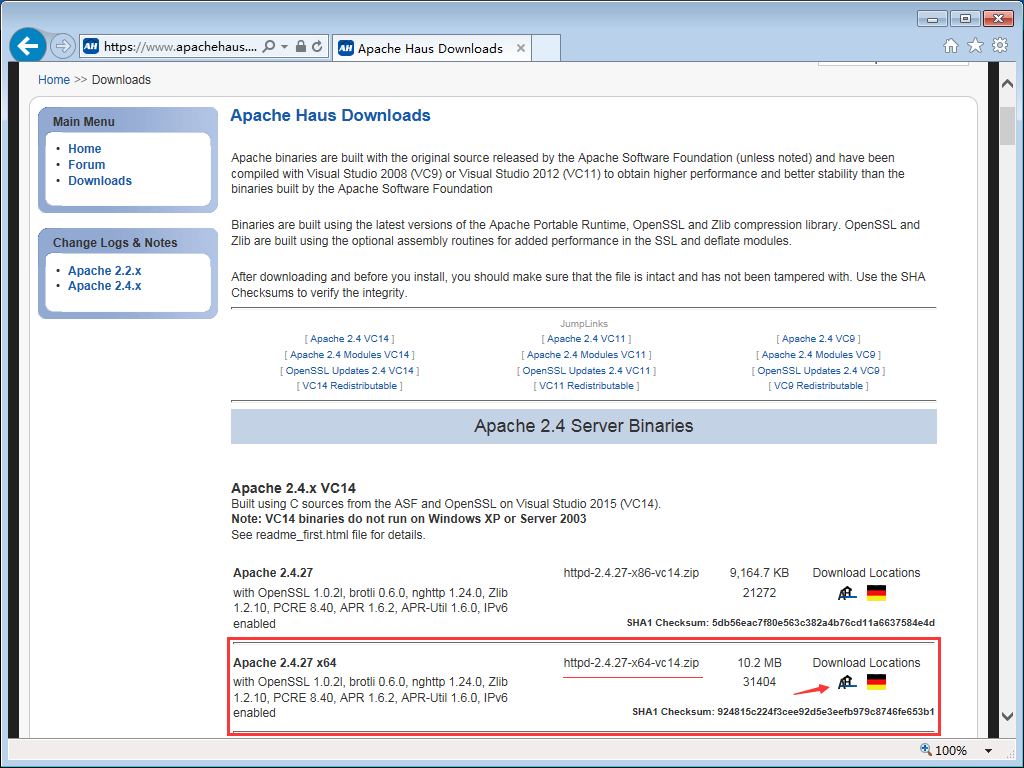
- 在“Downloading Apache for Windows”中点击“ApacheHaus”:
- 在“Apache Haus Downloads”界面中,会有VC9和VC11等字样,
VC9 support ends 2017-12-31
Built using C sources from the ASF and OpenSSL on Visual Studio 2008 (VC9).
Built using C sources from the ASF and OpenSSL on Visual Studio 2015 (VC14).
Note: VC14 binaries do not run on Windows XP or Server 2003.
VC9指使用VS2008编译的代码,VC11指使用VS2012编译的代码,而使用VS2012编译的无法在Windows XP和Server 2003中使用。
根据需要,选择“Apache 2.4.27 x64”,点击下载图标,完成下载。
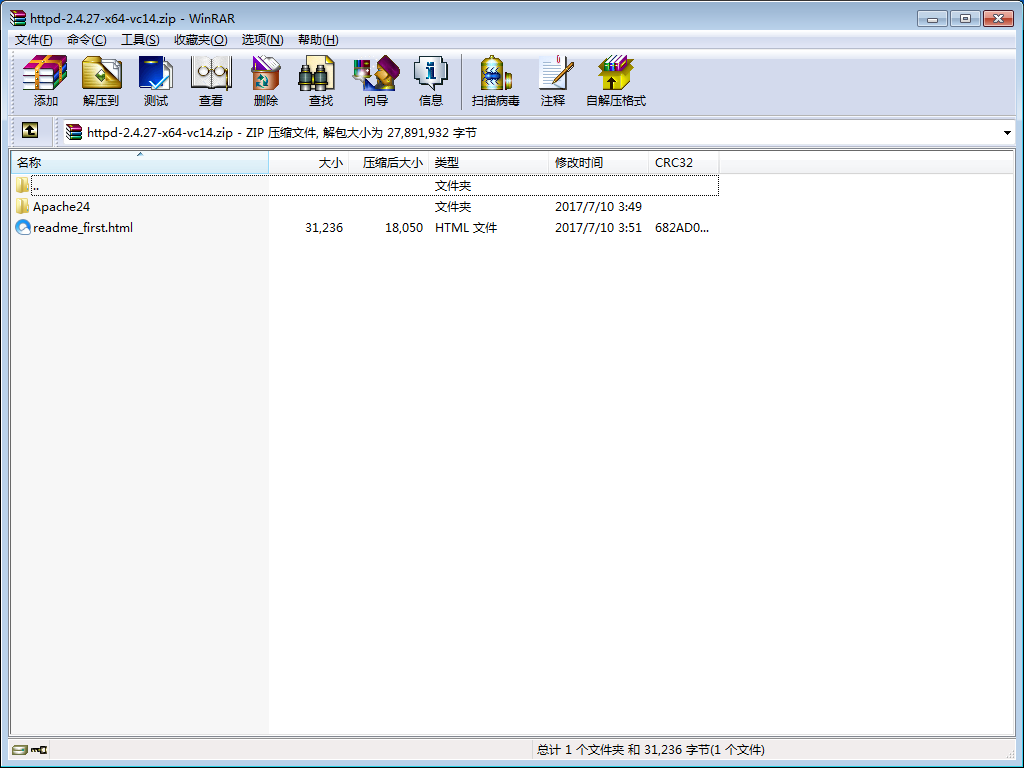
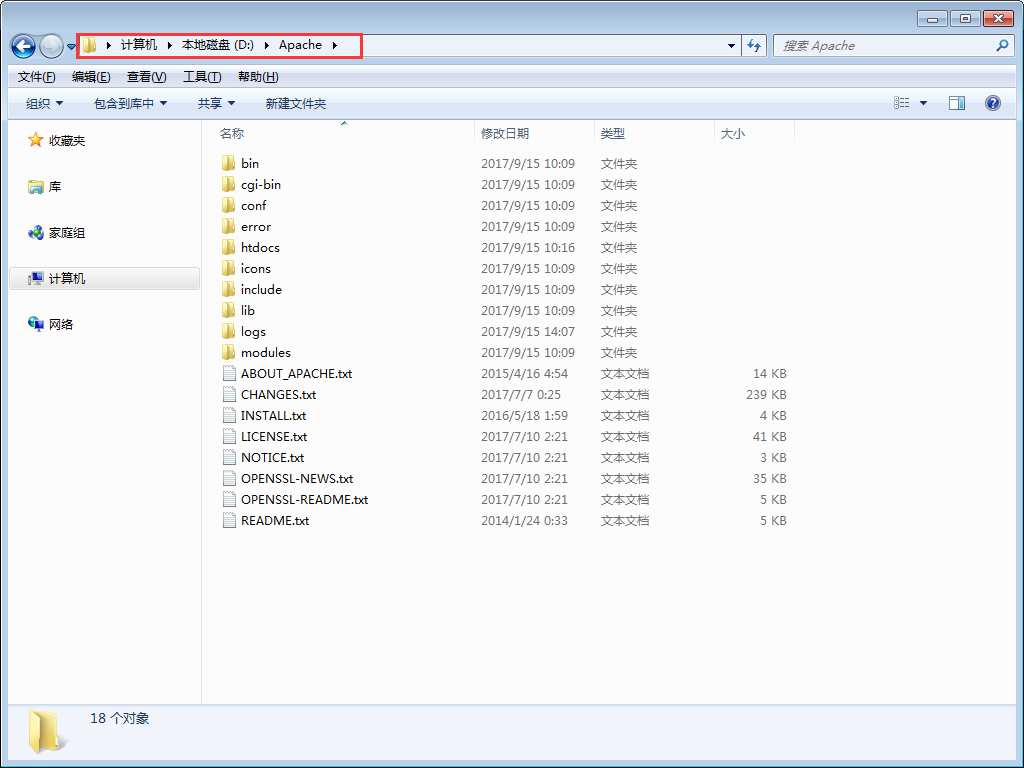
- 解压缩下载的文件,将“Apache24”文件夹放置D盘。根据实际情况,修改文件夹位置及名称“Apache”。
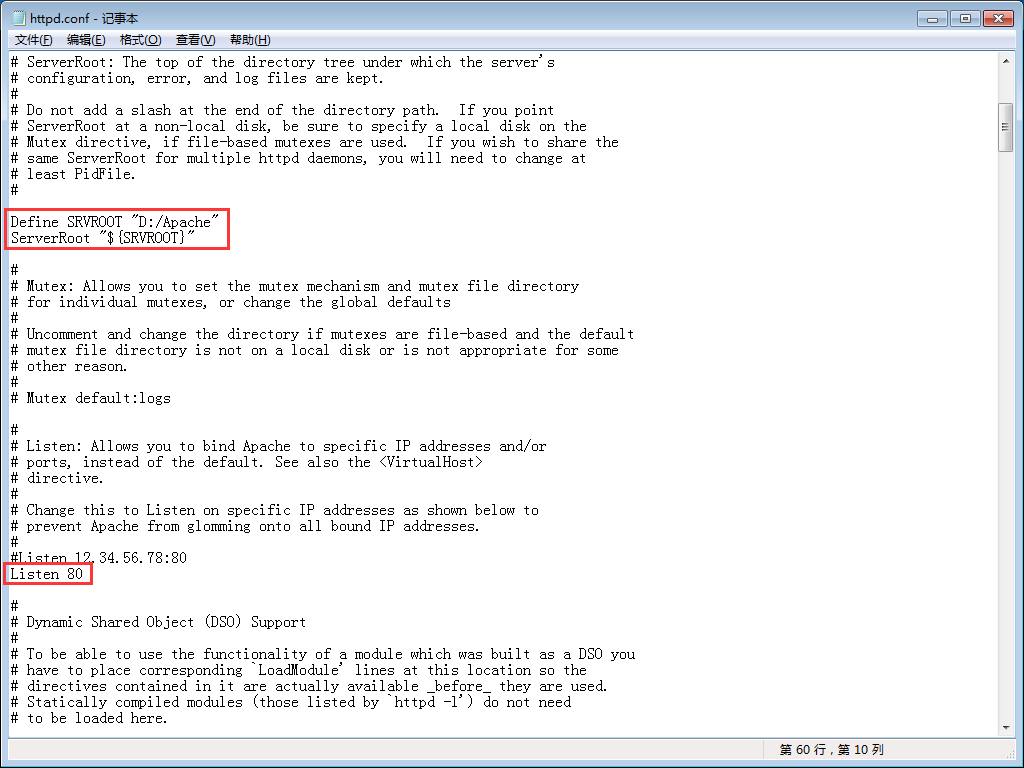
- 打开文件夹,找到D:\Apache\conf\httpd.conf文件,使用记事本打开,
- 找到“Define SRVROOT”该项,将其右侧的值修改为“D:/Apache”;
- 找到“Listen 80”该项,将其右侧的指修改为系统可以使用的端口,端口使用情况可以在cmd下用命令“netstat -a”查看。
- 打开CMD窗口输入:“D:\Apache\bin\httpd.exe” -k install -n apache
引号不可省略。该命令是指,安装Apache服务并将该服务名称命名为apache(可以修改)。
服务安装成功后,会自动测试,若存在问题,窗口会提示错误,此时,请根据错误自行排查。
其中,“Errors reported here must be corrected before the service can be started.”意思是,若该句话后面有错误信息,则表示服务安装失败,需要先改正错误。若没有,则成功。
- 在程序目录中,找到“D:\Apache\bin\ApacheMonitor.exe”可执行文件,双击运行,桌面右下角会出现图标,双击打开窗口界面,会看到如图所示:
- 点击左侧Start,启动apache服务。
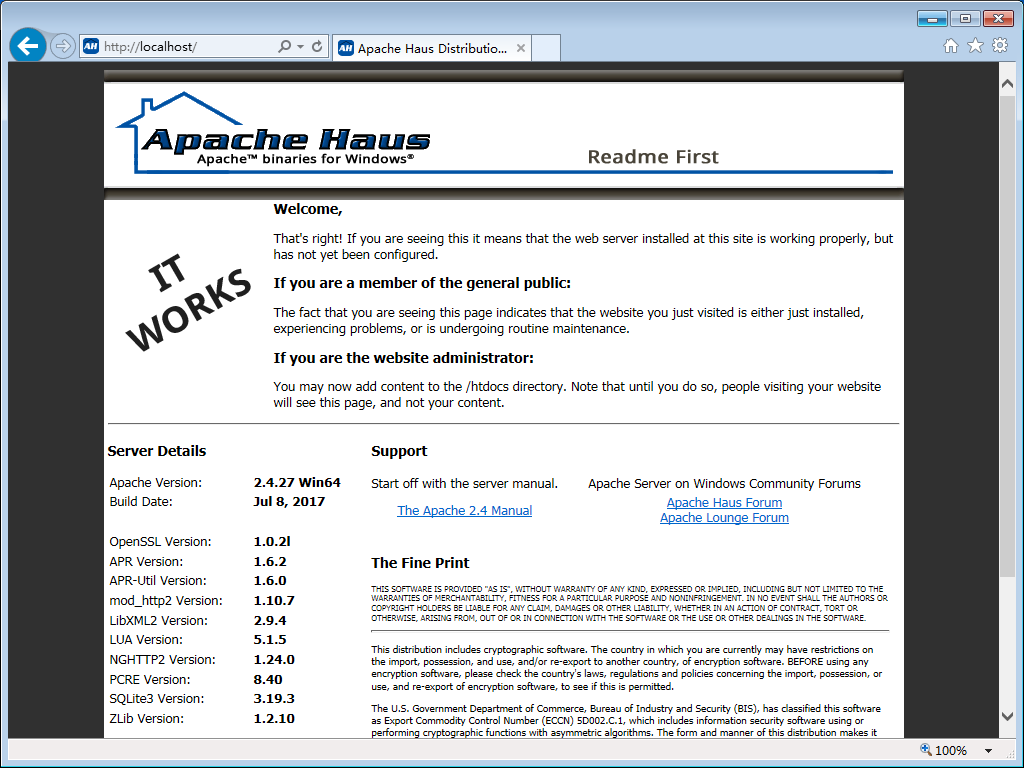
- 打开浏览器,输入访问“http://localhost”若出现如下图所示界面,则Apache服务器的基本配置完毕,此时apache服务器已经可以运行。
- Apache服务的卸载,需要先卸载apache服务。
在CMD命令窗口,输入(建议先停止服务再删除)“sc delete apache”。

(apache是Apache服务器的服务名)

 大小世界
大小世界
