TrueNAS(12.0版前称为FreeNAS)是一套基于FreeBSD操作系统核心的开放源代码的网络存储设备(英语:NAS)服务器系统,支持众多服务,用户访问权限管理,提供网页设置接口。FreeNAS当前版本整个系统总共需2GB以上USB驱动器进行安装,并支持USB存储设备、LiveCD、CF卡(转接成IDE设备)及硬盘等引导方式。目前有LiveCD、镜像档、VMware磁盘映像档三种发行方式。
原本的FreeNAS定位为单纯的网络文件服务器,但在发布0.684版本之后,由于市面上小型的NAS系统功能越来越多的情况下,FreeNAS渐渐加入P2P、iTunes、PHP Webserver等等的功能。
从2009年之后原开发者Olivier Cochard-Labbe宣布由于作者不能拿出大量时间进行版本更新,从0.7版本以后FreeNAS将转为维护模式,不会发布新的版本。新版本开发及发布由iXsystem公司负责。新版本FreeNAS工程开始于2010年,在2011年5月2日FreeNAS 8.0成功发布。由于需要与FreeBSD版本号进行匹配,FreeNAS主版本号更新为8,紧跟FreeBSD发行。
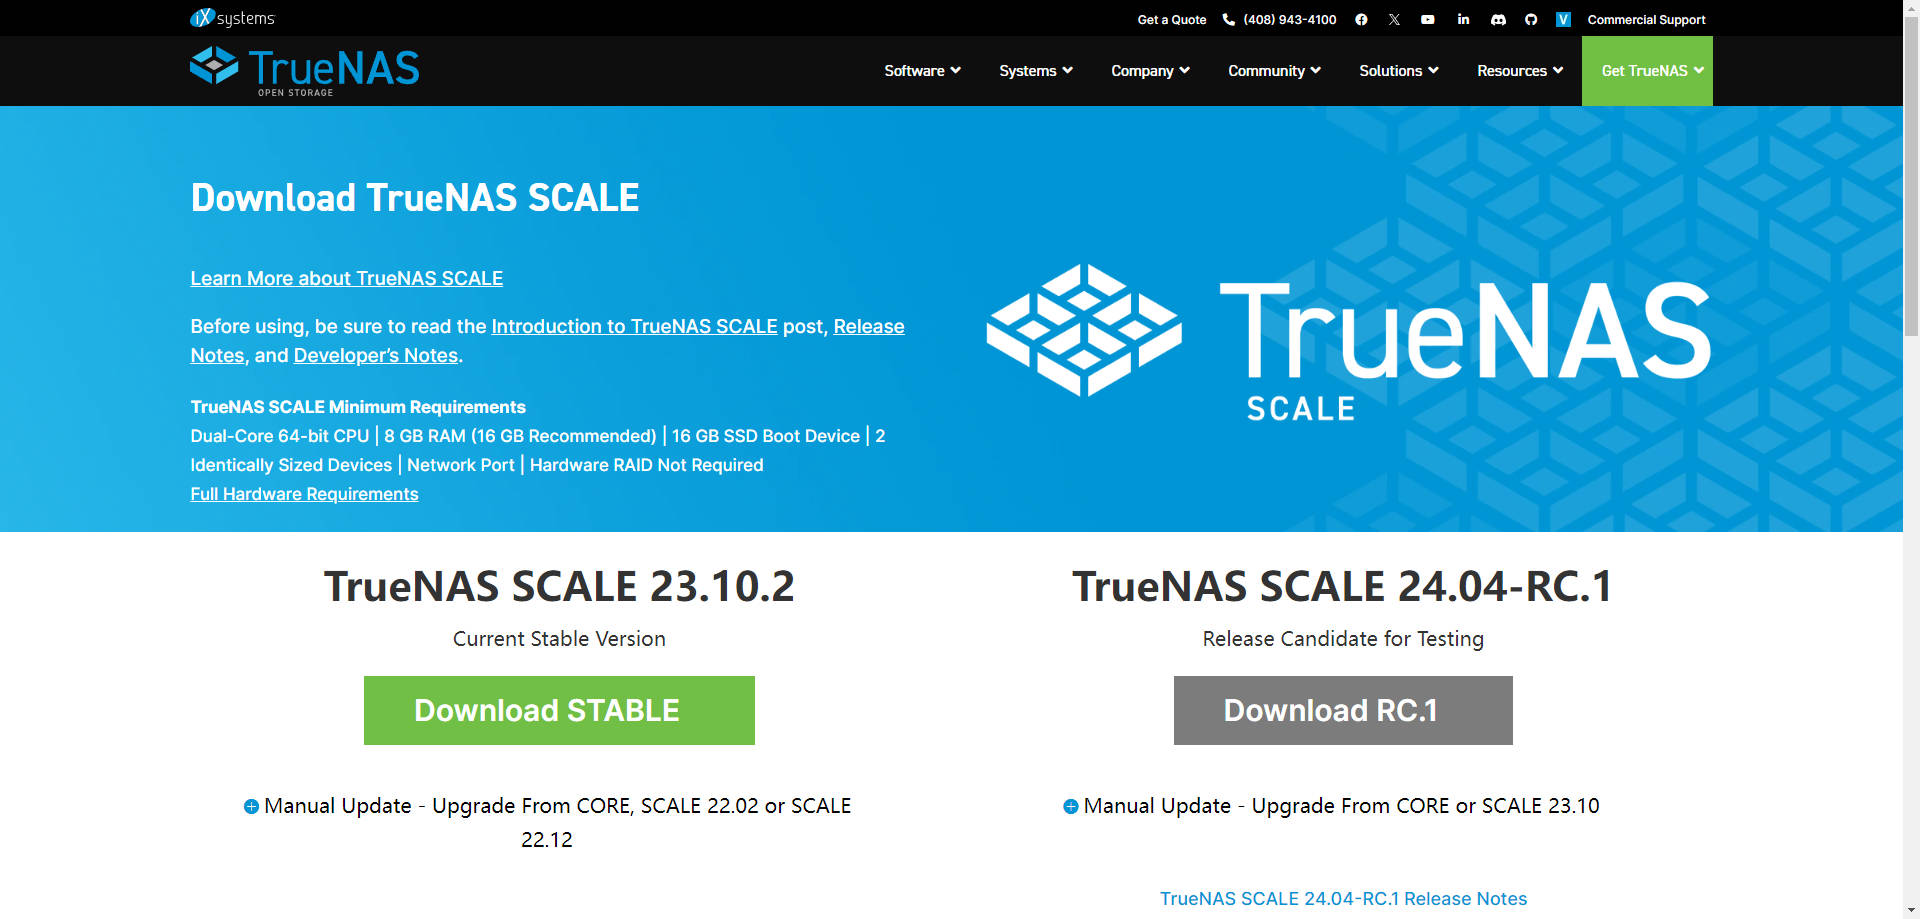
一、下载镜像
https://www.truenas.com/download-truenas-scale/
下载 TrueNAS SCALE 的ISO镜像文件。
二、制作系统安装启动优盘
下载Rufus软件,制作安装系统使用的优盘。
选择启动优盘、系统镜像、设置、
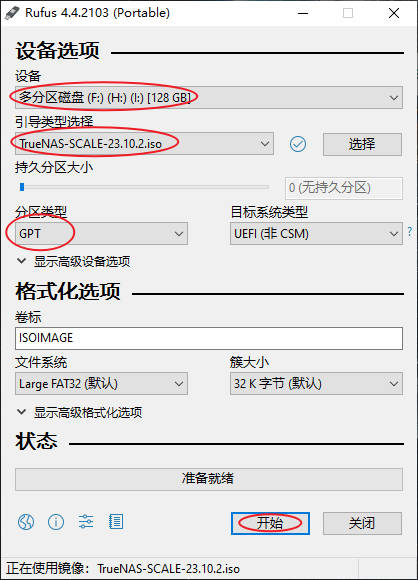
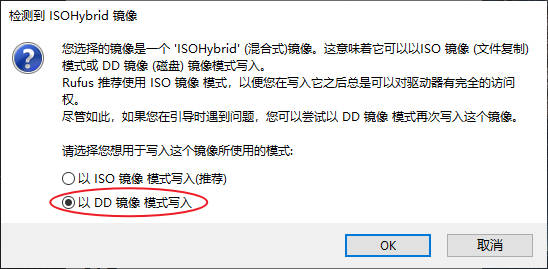
完成系统安装启动优盘的制作。
三、安装系统
目标主机插入启动优盘,开始安装系统:
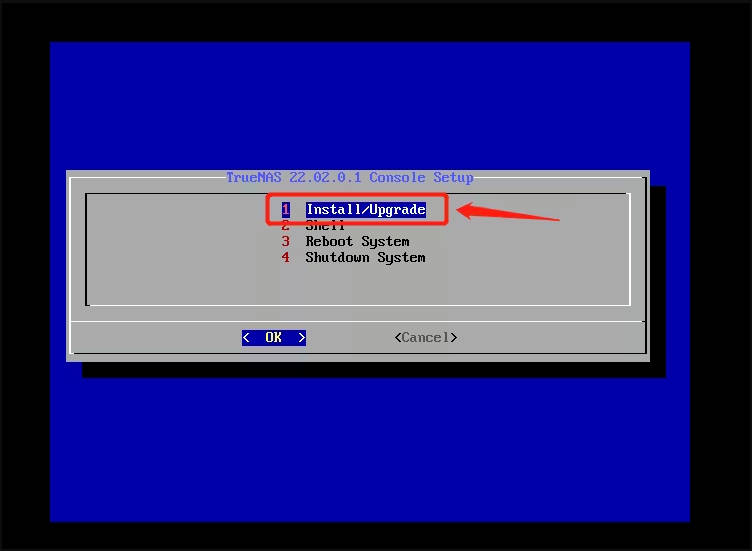
01. 开机启动,选择第一项启动安装程序

02. 选择第一项安装
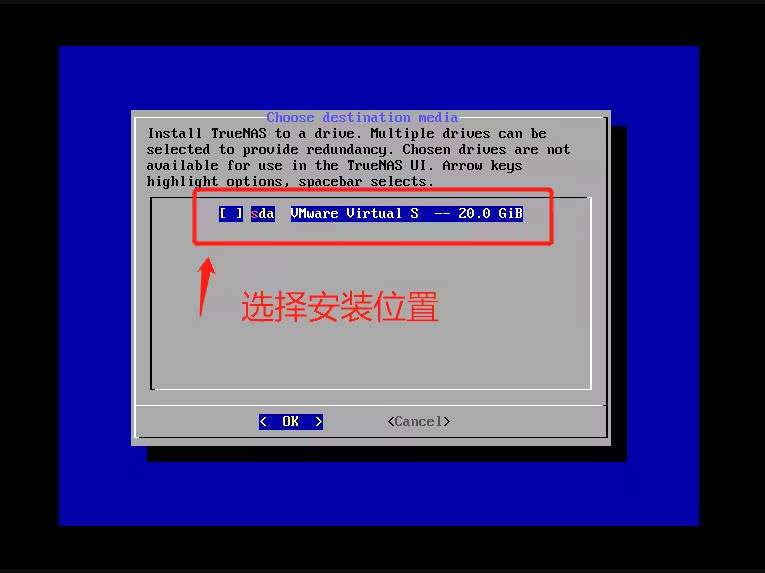
03. 选择安装系统的目标盘、会被清除数据格式化
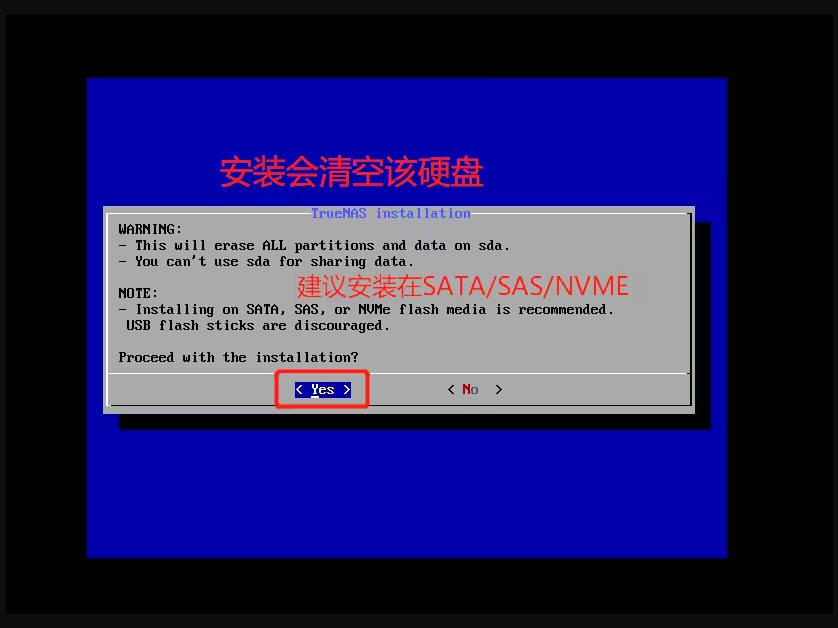
04. 确认清空磁盘
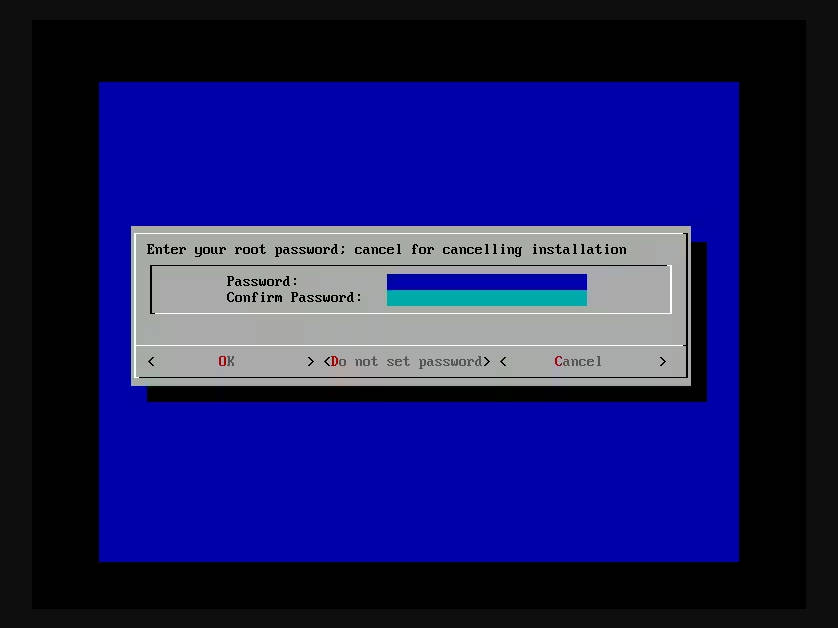
05. 输入系统账户密码,用于后期登录
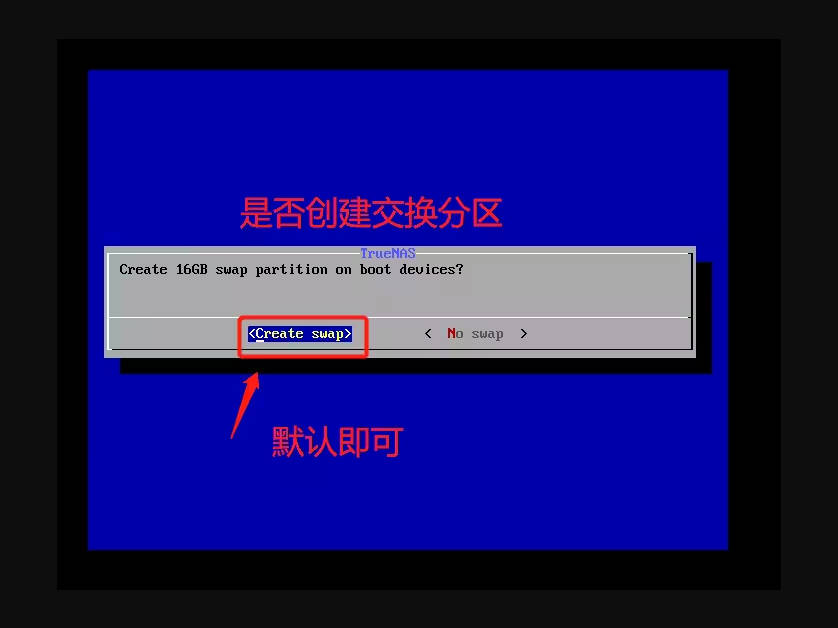
06. 确认创建系统交换分区
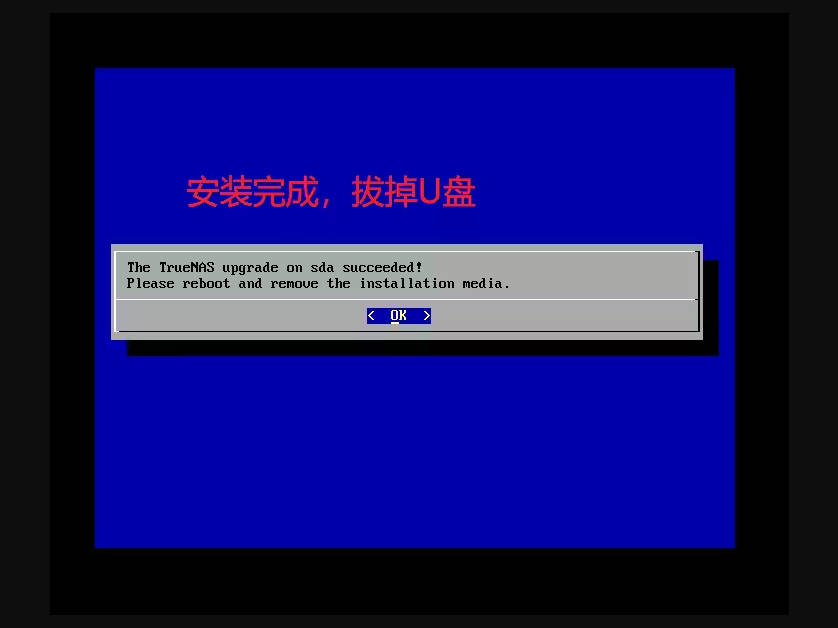
07. 完成系统安装,拔掉优盘
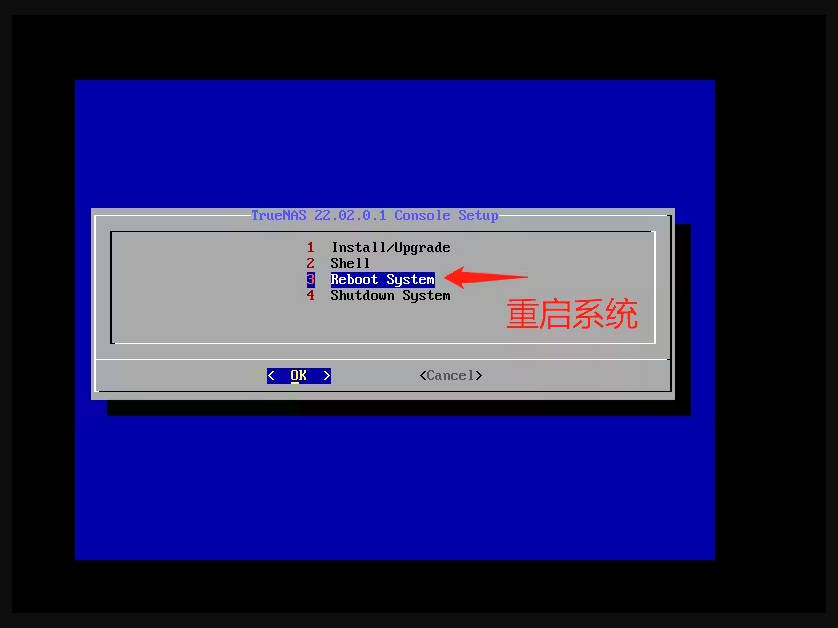
08. 选择第三项,重启系统
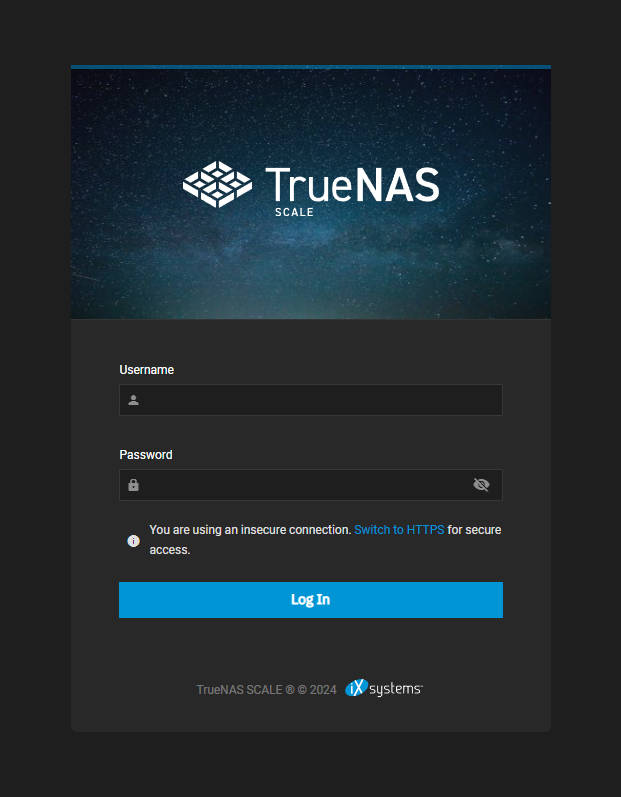
09. 系统启动完成后的界面,显示了登录所需的IP地址
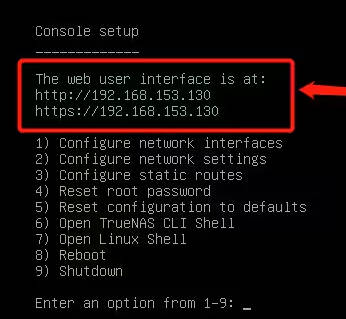
10. 浏览器中输入地址,即可登录TrueNAS